
Replit for education
I’m still pretty new to Replit.com, but from what I’ve seen, it’s a powerful tool for programming education. The platform uses the byline…
“We build powerful, simple tools and platforms for learners, educators, and developers.”
…Which turned out to be precisely what I was looking for.
I was initially searching for a tool primarily for presenting interactive coding examples inline in a Learning Management System (LMS). I had previously used embedded Codepen.io Pens to present web design elements and techniques. Codepen allows you to present HTML, CSS and JavaScript and show the results in an interactive iframe like this.
See the Pen Real Time Form Validation Boilerplate by Ire Aderinokun (@ire) on CodePen.
The new course our team was working on included introductions to other languages, including C++ and Python, so I was initially looking for a solution for each. However, when I discovered that Replit supported more than 50 languages, I realised I’d hit the jackpot.
What is Replit
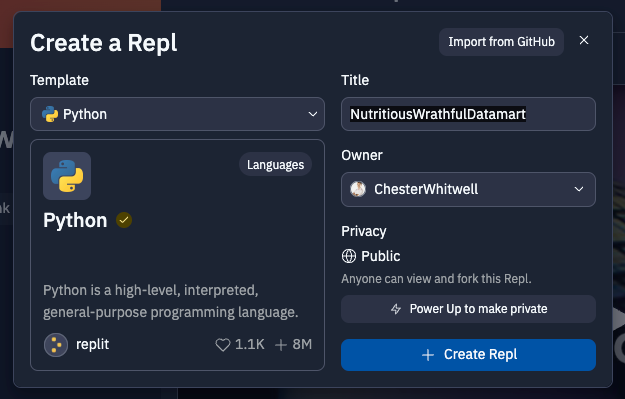
Looking at the basic feature set, Replit is an online collaborative IDE. Once an account has been created, you can create a Repl (the term used to describe an individual replit project) using one of the templates available. There are heaps of templates for lots of different languages and frameworks. If you’ve previously linked your Github.com account, you and even import projects from there, and it auto-detects the most appropriate template for you.
Once the Repl is created, you are presented with the IDE that includes a simple files list on the left, a text editor in the centre and a console on the right.
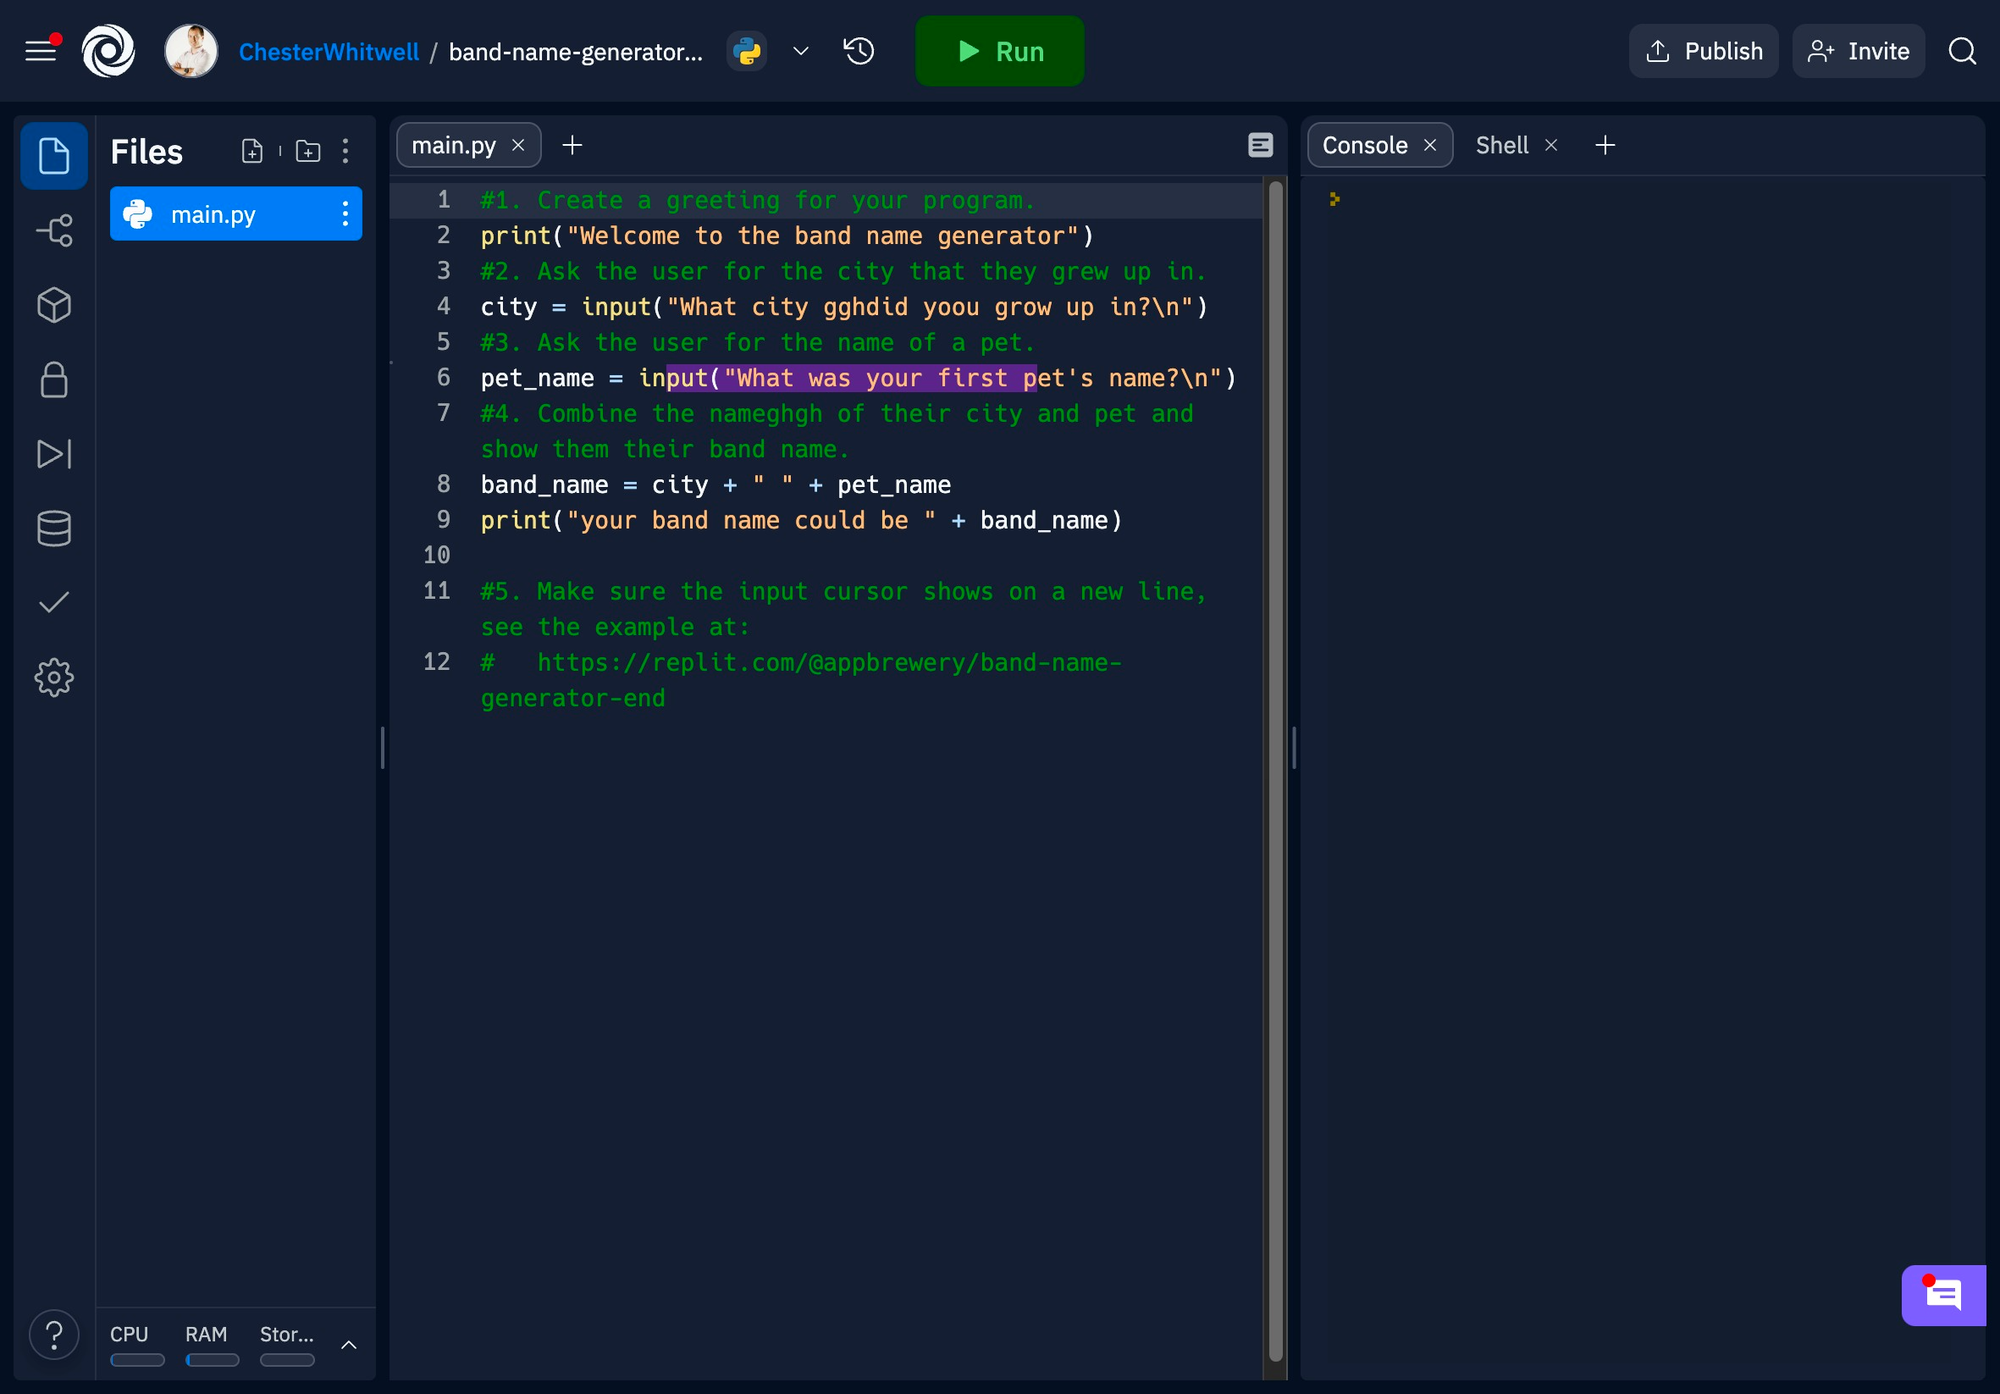
The code you’ve written can be executed by hitting the big green play button at the top of the window.
Multiplayer
Repl’s have a multiplayer mode, meaning you can invite other uses by searching for user names or by providing a join link.
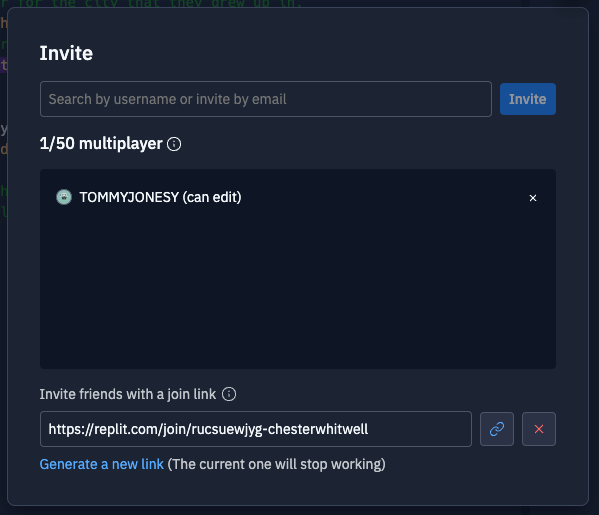
This feature is perfect for one-to-one student-to-tutor live interactions. A student can invite a tutor to their Repl, and highlighting and cursor positions for each are visible. Both users can edit the code and see what the other is typing.
The feature is also great for facilitating a live classroom with more than one student, in person or remotely delivered.
A tutor can provide a join link to a Repl at the beginning of a live class. While screen sharing, the Repl enables students to see and interact with (when appropriate) the code the tutor is writing. This means that the quality of the video stream doesn’t impact students' ability to see the code, and as a code block grows, students can scroll their own screens to see what was written previously.
This is also a feature that can be enabled in Atom.io using Teletype for Atom, or in Visual Studio code using the Live Share Extention Pack.
Tutors’ can also encourage engagement by providing opportunities for students to complete code or modify code on the screen. Multiple students can be given different lines to work on simultaneously.
Multiplayer is also great for student collaboration. Projects can be shared, and multiple students can work on the same project synchronously or asynchronous.
Embedding
This was the initial reason I was looking for a solution like Replit – to provide interactive coding examples and challenges in-line in the LMS, and present a learner journey that follows the PRIMM process that I’ve discussed here.

Update: Recent changes to the Replit platform now means that embedded Repls are no longer editable. Learners will need to open on Replit and fork the examples to edit them.
Embedding is pretty simple, using iframes and the snippet below.
<iframe	frameborder="0"
        width="100%"
        height="500px"
src="REPL_URL?embed=true"></iframe>Here’s an example of an embedded Python project called Band Name Generator.
Since embedded Repls are now no longer editable and require the learner to press the play icon to see their output, it is even more important the Repls provide a meaningful and relatable working example. They will also need to be appropriately introduced to encourage engagement. For example,
input to store strings as a variable, and uses print to output a concatenated string. You can run the code by clicking the play icon in the centre, and view the code by clicking "Show files" to access main.pyThe embedded Repl is interactive and can be run to see its output. Learners can be encouraged to Predict what the program will do, Run the programme and Investigate how it is doing it.
The Modify stage now takes place within the Replit platform. Learners can be directed to fork the Repl before making their changes. For example,
Complete the following challenges:
• Make the program store the concatenated string in a new variable.
• Use a different method of concatenation.
To apply the PRIMM approach, learners should be exposed to meaningful, working examples.
Here's another example. This programme introduces string methods.
split method is used to separate each line of the text file into first and last names stored as a list. The names are then joined to form an email address.Complete the following challenges:
• Try using a string method to make the output all lowercase.
• Try using the
format string method to format the output.• Try outputting the email addresses to a new file.
• Consider how you could avoid generating duplicate email addresses if the text files included duplicate names. Share your ideas in the forum.
Replit Teams
Firstly… Replit – Teams for Education is Free! An overview of the feature can be found here.

The organisation structure of a Replit team is relatively simple and provides for multiple permission levels for administration.
At the top level is the Organisation representing the school or college. The Organisation is divided into Teams, these can represent a course or a cohort. A Team includes Units that can represent subjects or topics, and each unit can include Projects. Projects can also exist directly within a Team.
For a proper breakdown of the roles and permissions for organisations and teams, take a look here. The simplest explanation would be tutors are Team Admins, and learners are Team Members.

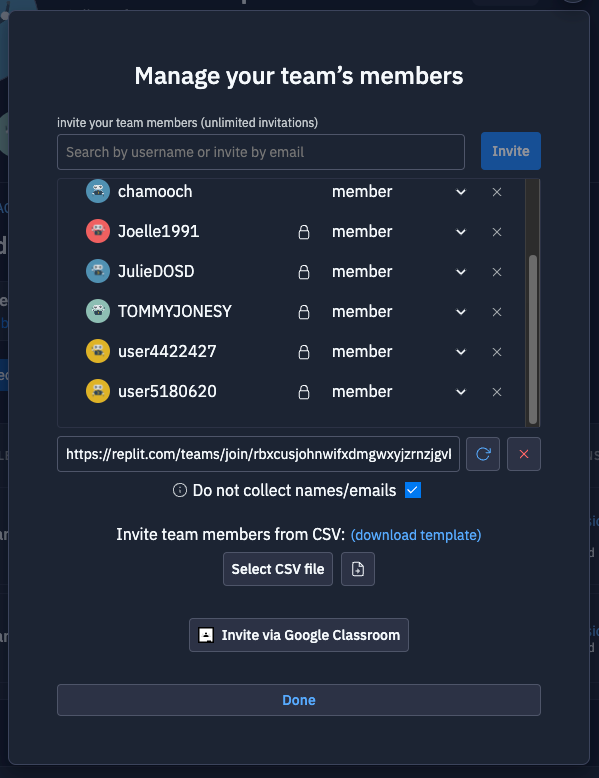
Team members (learners) are added to a team either by searching for their usernames or adding their email, or preferably using a self-enrol link that can be shared in the LMS or on whichever communication platform is being used. Using the enrol link, you can choose not to require a name and email address to provide an additional level of privacy to your learners.
It’s possible to copy all or individual projects from one team to another (following these instructions), making it possible to create a template team version of a course that can be duplicated as needed for different intakes or to divide responsibility between different tutors.
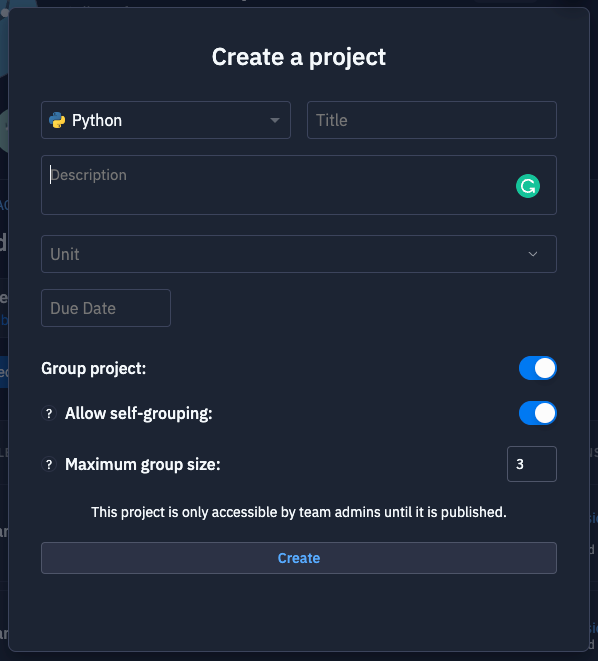
Team Project Repls are created in much the same way as normal Repls However, there are additional options for setting a due date and for creating a group project. It’s a good idea to create every project as a group project because you can’t select this later; however, you can specify a group size of one if you want it to be an individual project. "Allow self-grouping" makes it possible for students to create and join their own groups, relieving some of the admin from the tutor.
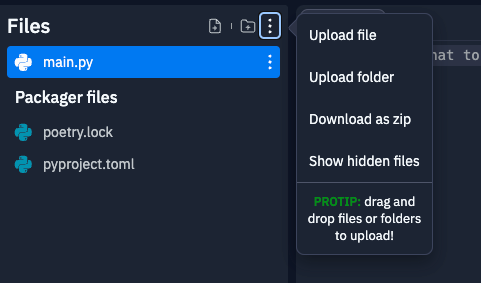
Within a newly created project, a Team Admin can add whatever starting code might be necessary for the learners to begin the project. Addition files and folders can also be uploaded, and a project folder can be downloaded, which might be handy if you are requiring learners to upload a finished project to an assessment in an LMS.
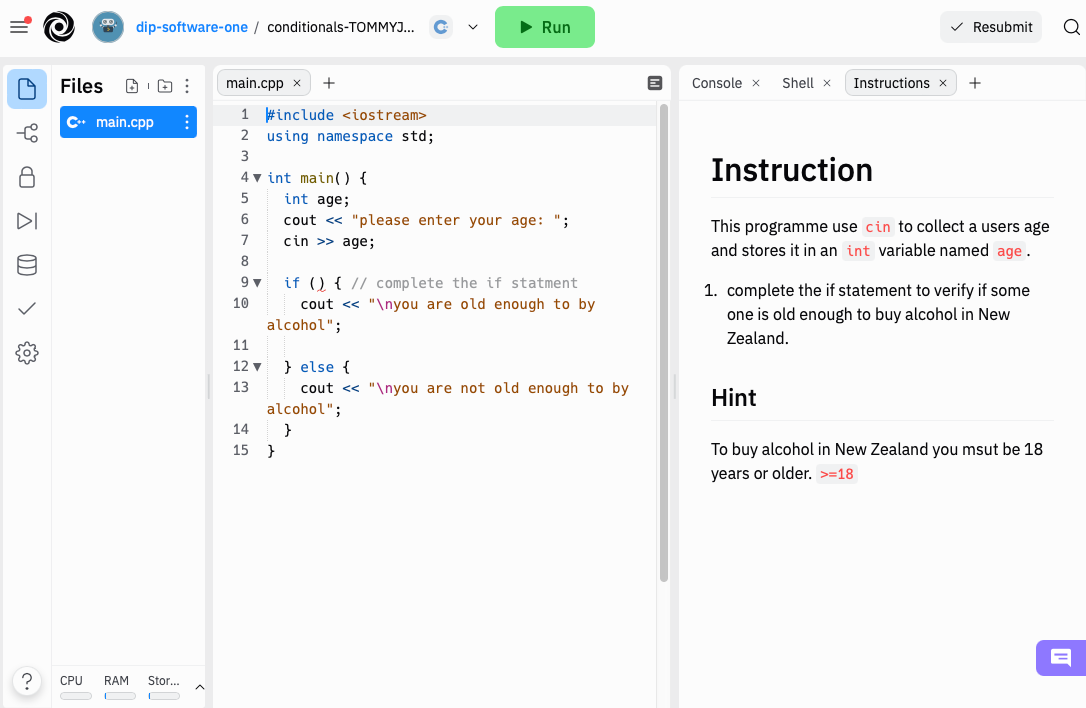
Providing instruction
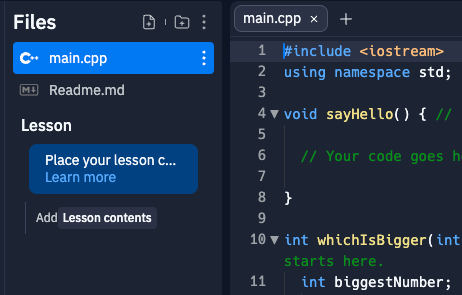
Within the files section of the IDE, you might see some clickable text labelled “Add Lesson content”. This will add two additional files instructions.md and lessonplan.md. If the text isn't visible, these files can be added manually.
instructions.md is a markdown file that you can add instructions you want learners to follow to complete the project. When learners access the project, the instruction will be presented on the right, where the console is usually located.
lessonplan.md is a markdown file that is only visible to Team Admins and above. You can use it to provide information to other tutors, this might include expectation, what need to covering before learners attempt the project, and how the learning outcomes are being met.
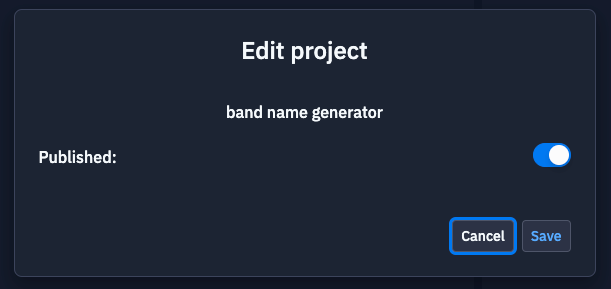
Once a project is set up and configured the way you want it, it needs to be published for it to be accessible to learners. The Publish project button in the top right of the IDE interface is where this can be accomplished.
Team Members (learners) can visit the Team Replit page to see all published projects, or you can provide Project links in an LMS or a communication platform.
When a learner accesses a project, the project is forked (copied), and they can begin completing the tasks.
Providing assistance
If learners find themselves stuck or in need of assistance, they can start a thread (add a comment) by right-clicking on their code. The team admins will be notified, and a tutor can reply to the thread. If both the learner and tutor are in the project simultaneously, they can communicate in real-time.

Submitting a project
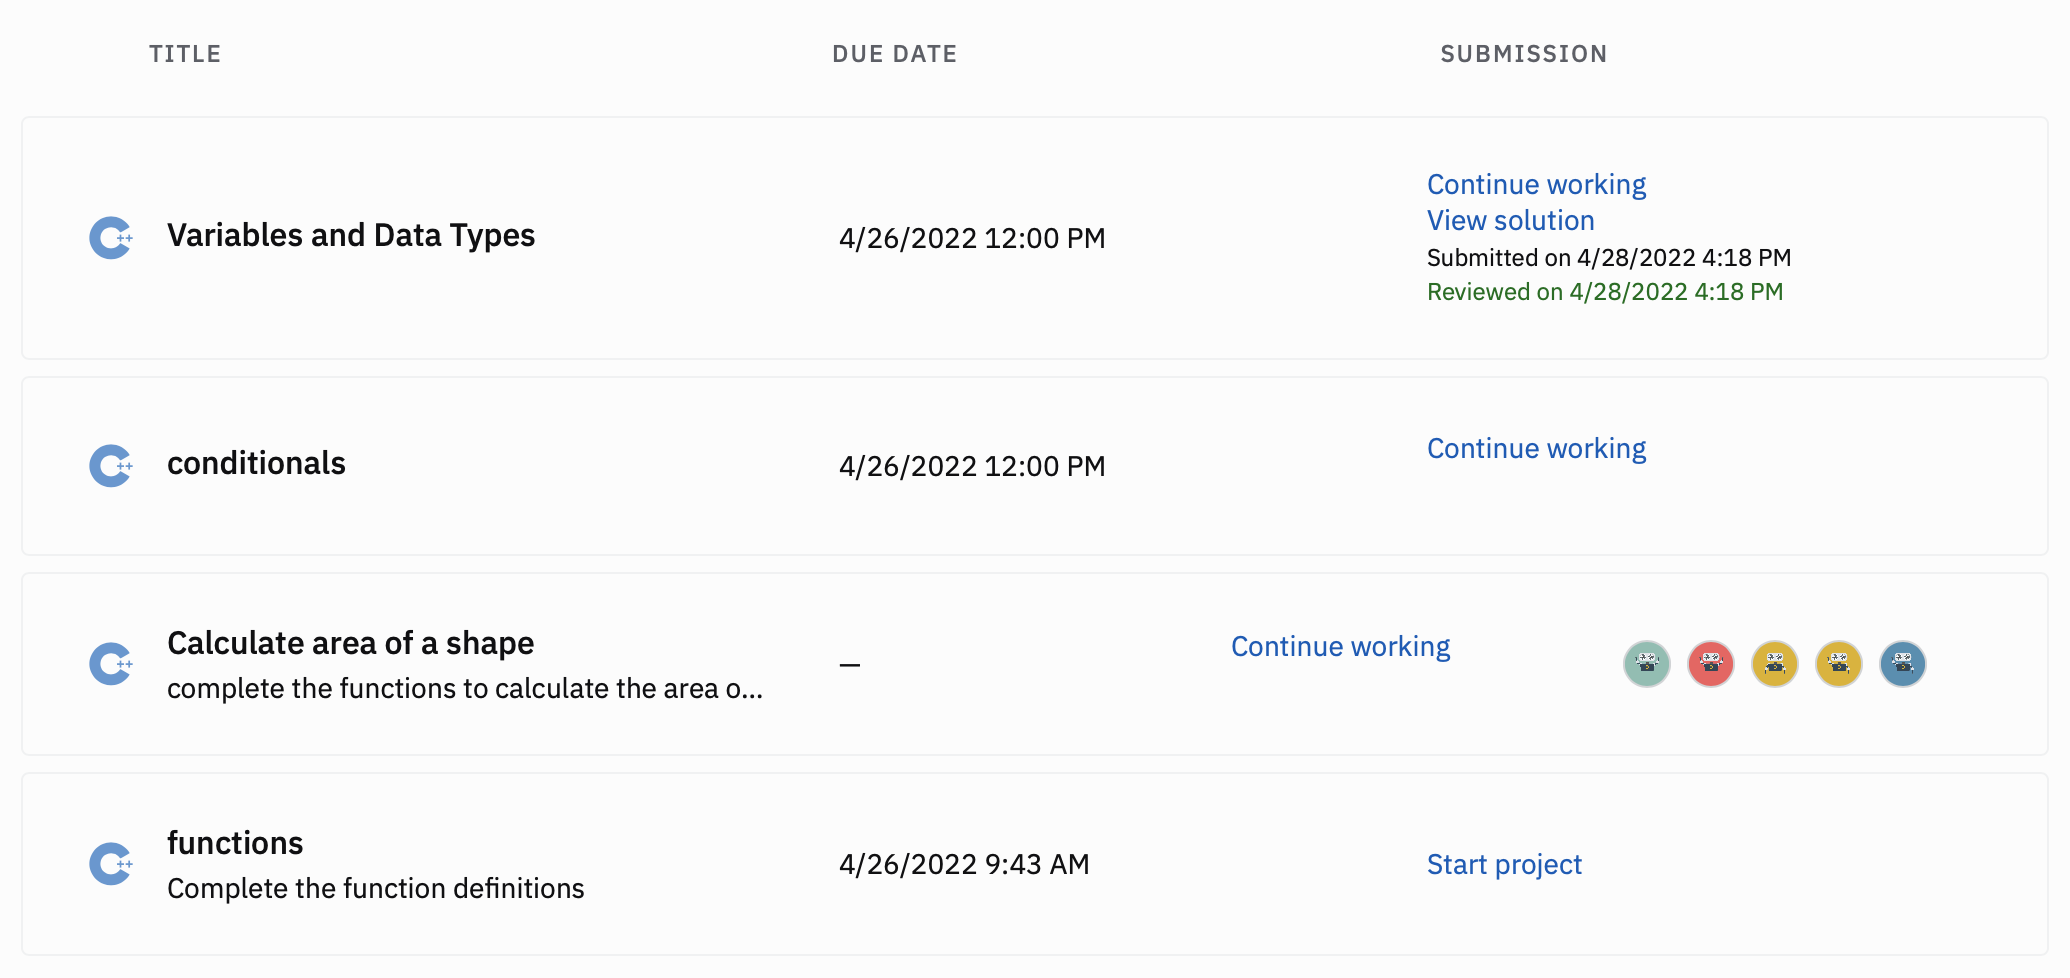
When a learner has finished their project, it can be submitted for feedback by clicking the Submit button in the top right of the IDE.
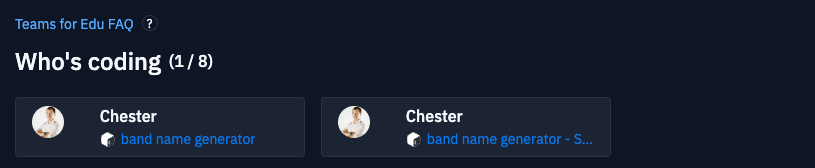
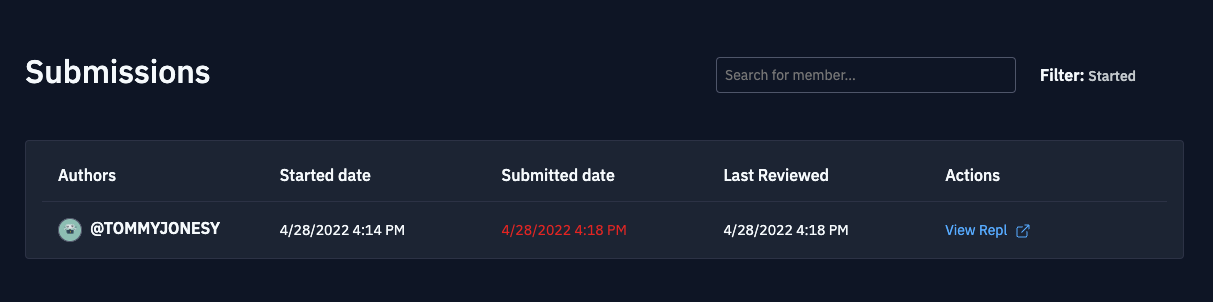
At any point during a course, a Team Admin (tutor) can view projects started by learners and see who is online and coding.
Feedback can be provided as an additional markdown file, thread comments or code comments, and submitted projects can be marked as reviewed, helping keep track of which projects have been assessed and letting learners know when they have received feedback.
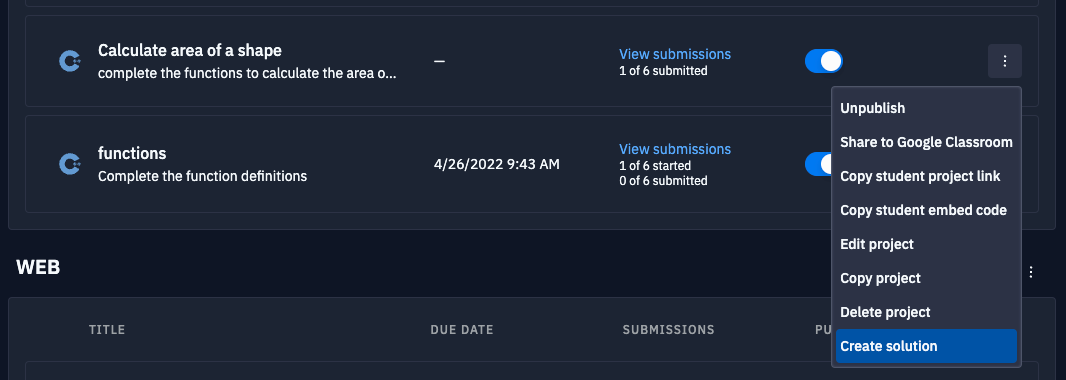
Projects can also have solutions added to them that are released either after the due date or after submission. Solutions can also be kept inaccessible, so only tutors can view them.
Conclusion
Replit.com is a pretty awesome set of tools for facilitating the delivery of coding education, and there are many more features that haven't been mentioned here, including:
- Unit and Input/Output test (to automatically test learners' submissions)
- Version control (to track changes and rollback)
- Secrets (to hide secret information like passwords while still being able to use them in the Repl).


